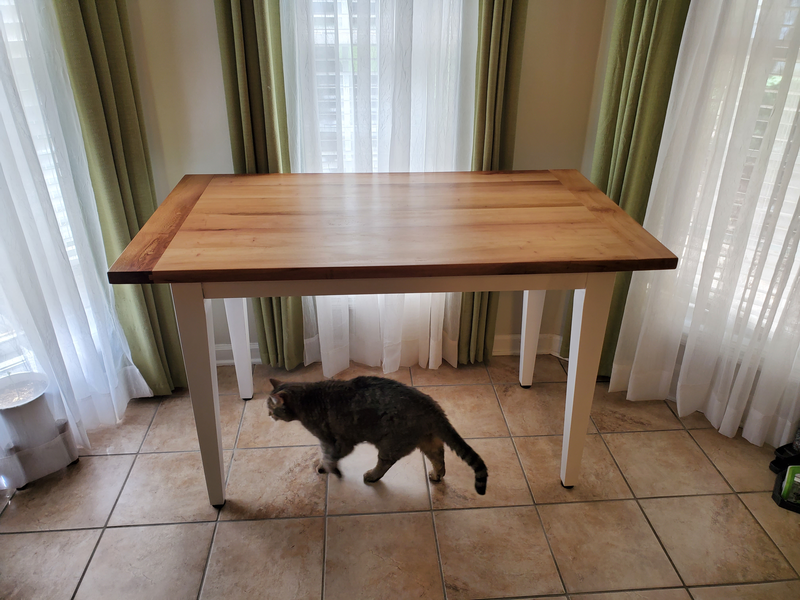
For most of my adulthood, I ate my meals at my desk or a restaurant. Kids of course change this, and family meals are now an extremely important part of our day. Unfortunately, a suitable table for our kitchen could not be found within a reasonable price. Rough sawn poplar was of course plentiful and cheap (at least it was when I purchased it; this project took a long time).
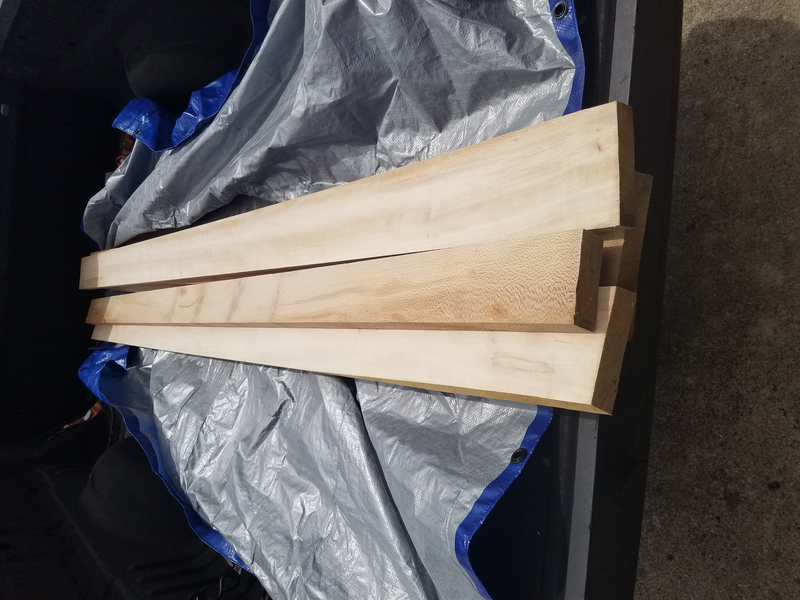
I started out with a bunch of 3/4" poplar at about 4" wide which were intended for the top and frame, as well as some 3" by 3" for the legs.
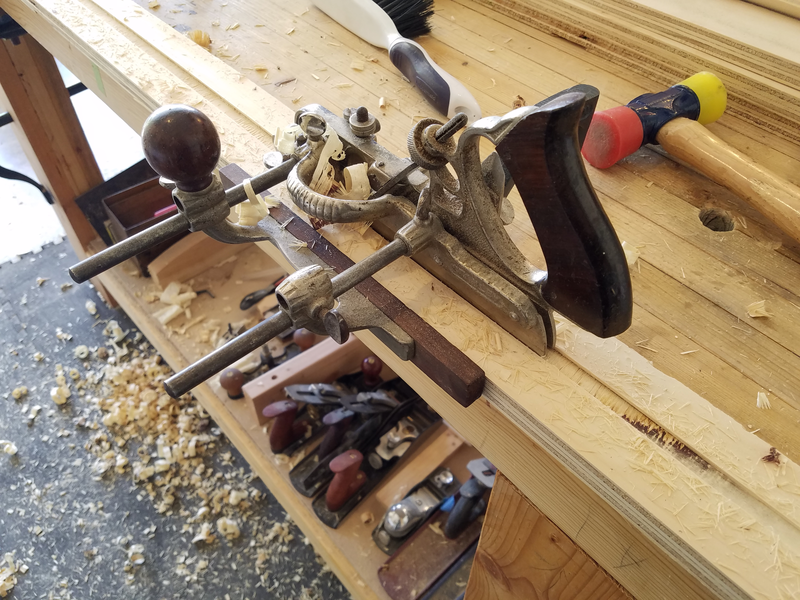
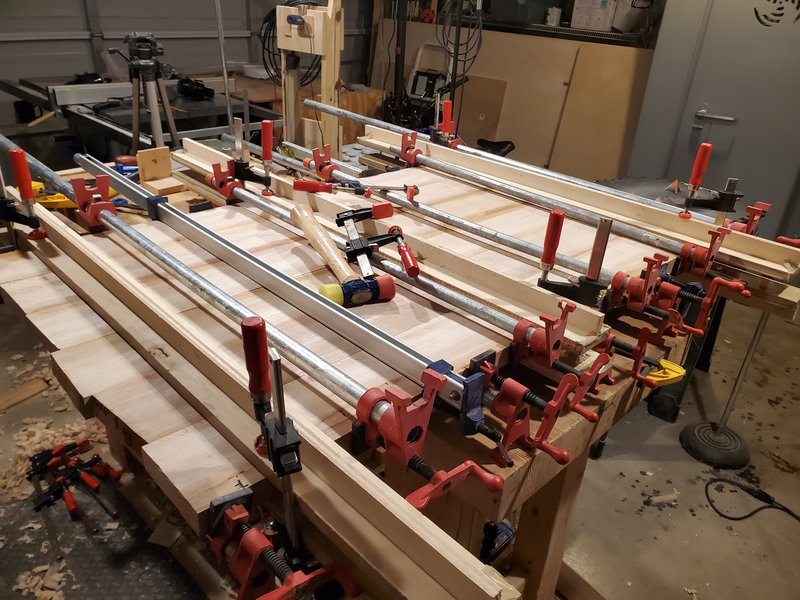
As this was a much wider panel than I had ever attempted before, I thought it would be a good idea to have some long clamping cauls on hand to keep everything lined up. These I fabricated with some 1/2" ply scraps and a groove from the No. 45 plane.
I put a little packing tape on the surface to keep the glue from sticking to them.
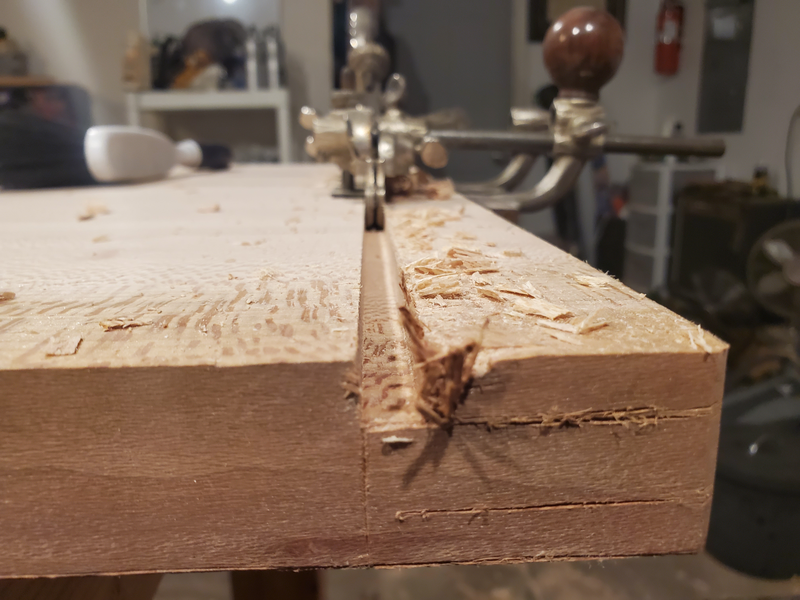
I expected the table top to pose the most significant challenge since I had never before cut breadboard ends. My first attempt ended in disaster when I tried to force the board in place and couldn't get it off again.
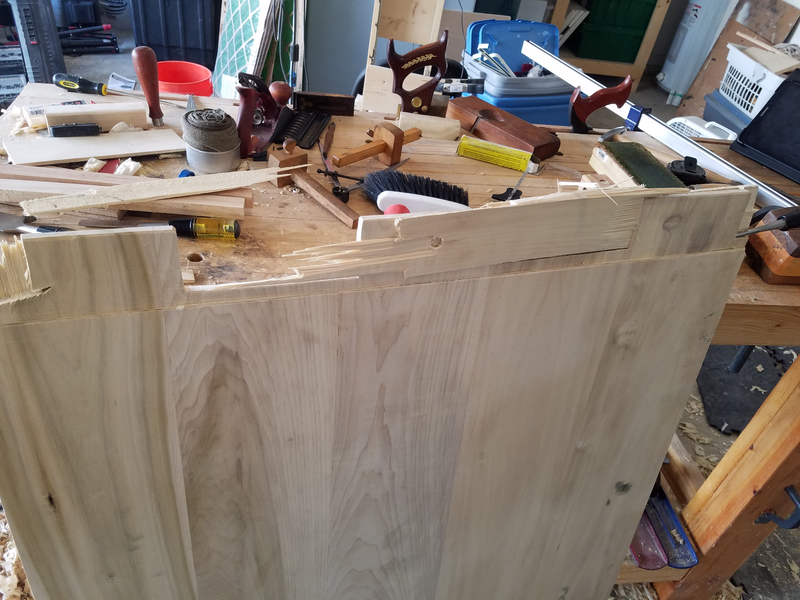
I did wind up re-purposing the top for my son's desk, but went a different route for the table top.
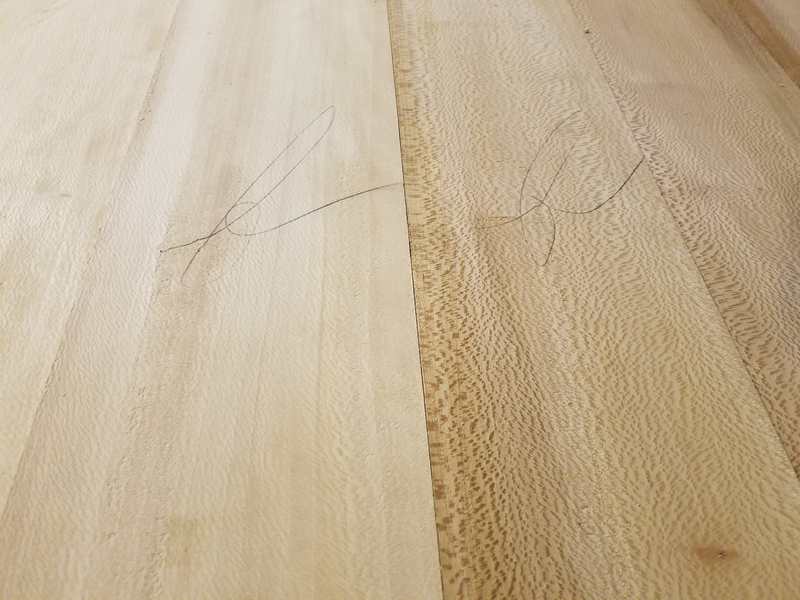
For the next attempt I secured some 6/4" quartersawn sycamore (because it was the only 6/4" stock at the sawmill).
I expect using quartersawn wood for a breadboard top will virtually eliminate the problems of seasonal movement, as the main body and the ends will expand in contract in the same direction. My opinion on this is of course based on things I've read and heard online, so be wary of my 3rd hand wisdom.
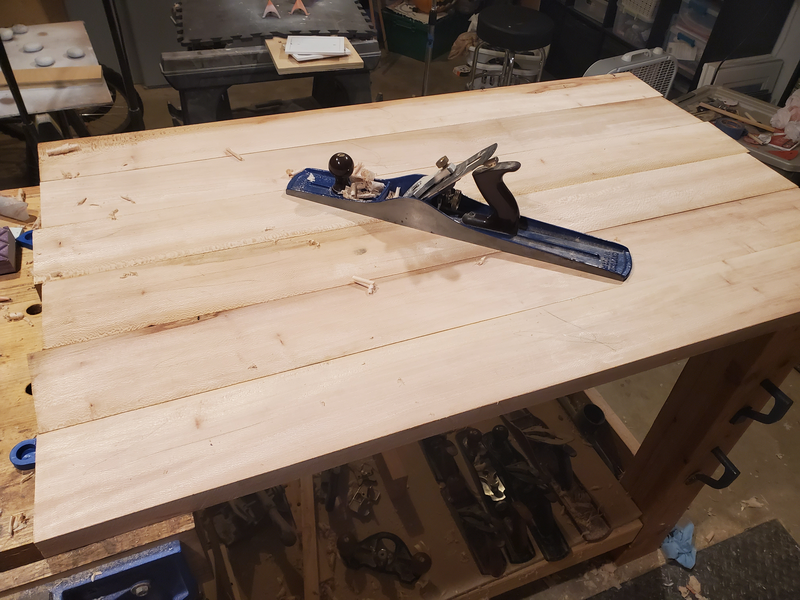
Once my boards were flattened, squared, thinknessed, and planed to width, I could glue up the panel. I had acquired some pinch dogs for this operation, but decided to instead use clamps for the sake of familiarity.
With the glue dried, I embarked on the 2nd largest flattening session (after the bench) of my woodworking career.
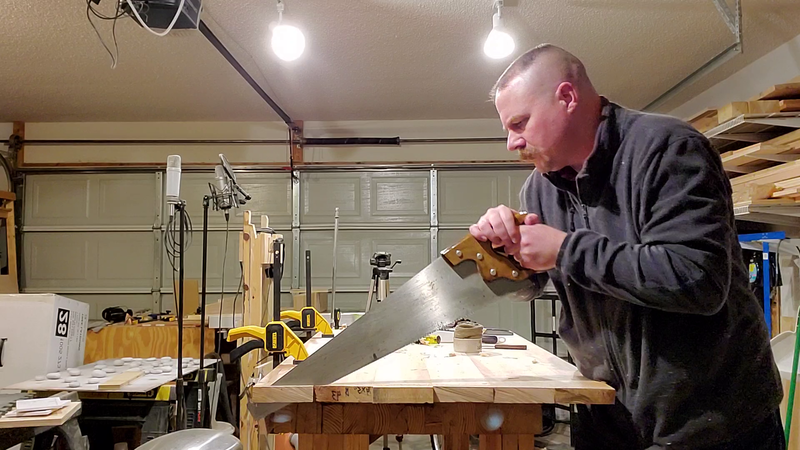
After both sides were flattened (or maybe before), I straightened out the ends with a crosscut saw, then the No. 62 low angle jack plane.
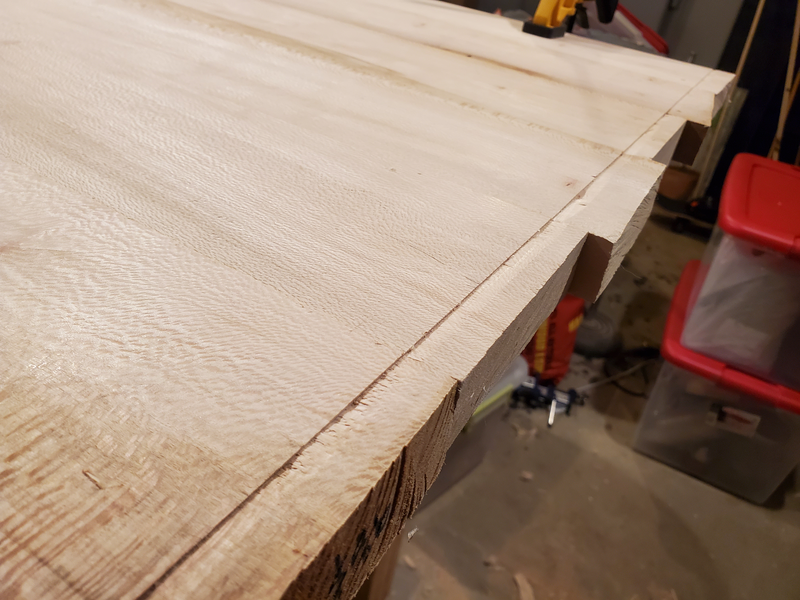
The breadboard ends were the most challenging and time consuming part of the project. I started with the tenons, first marking with a mortise gauge, then cutting a groove across the grain with the No. 45 to give me uniform depth for the tenon shoulders.
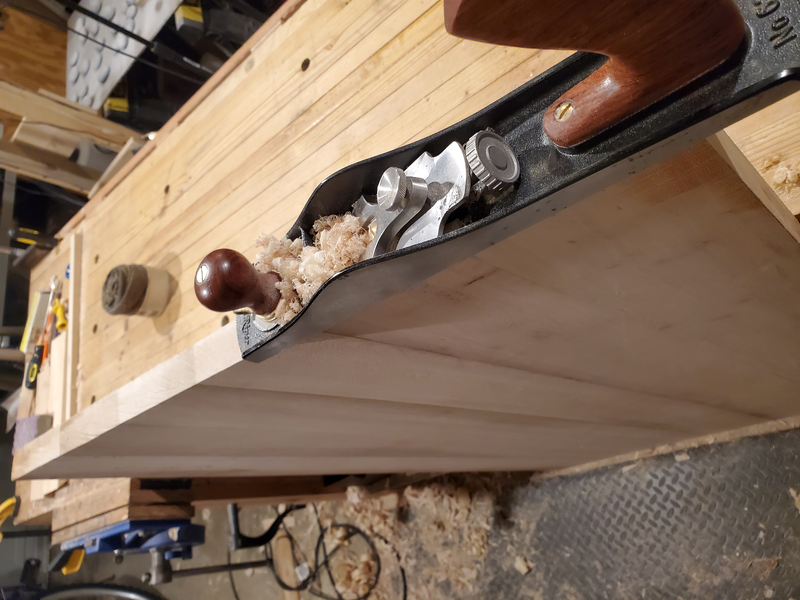
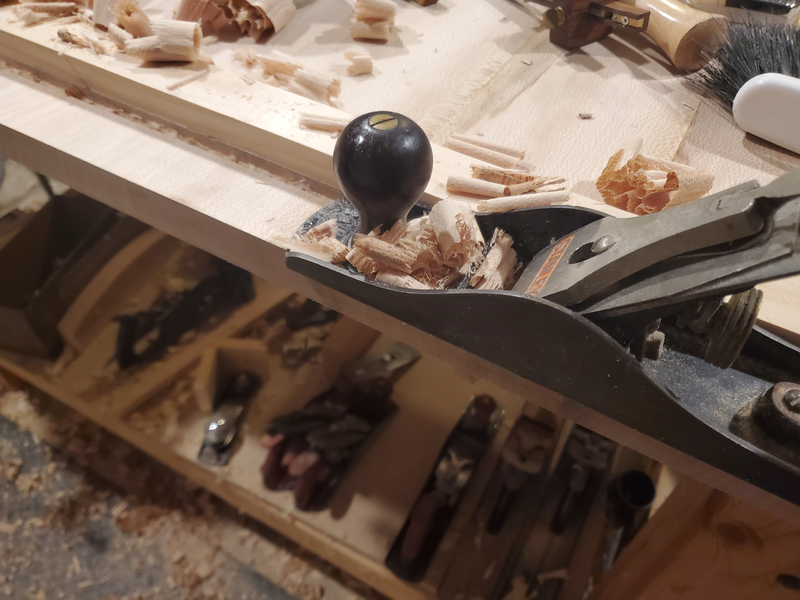
Once I had the depth established I could get the No. 5 in to plane the cheeks down to the gauge lines.
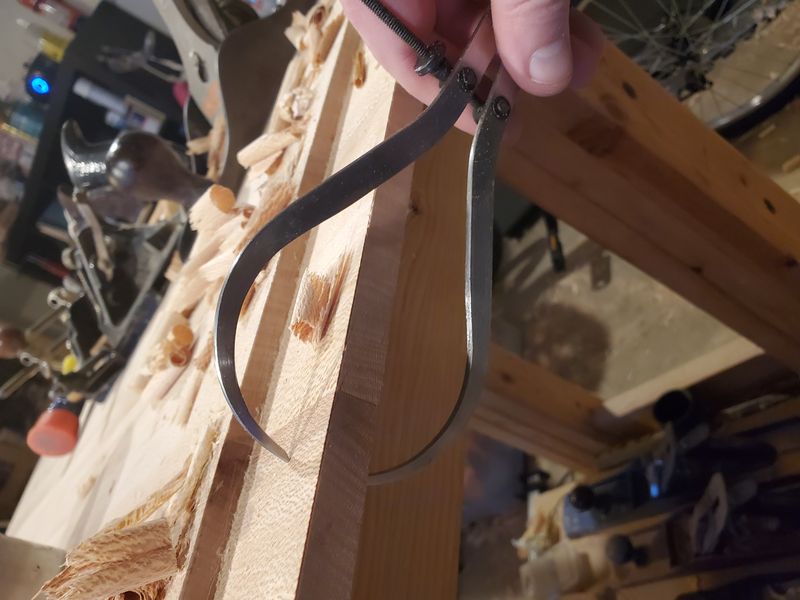
I used calipers to identify any sections that were too thick.
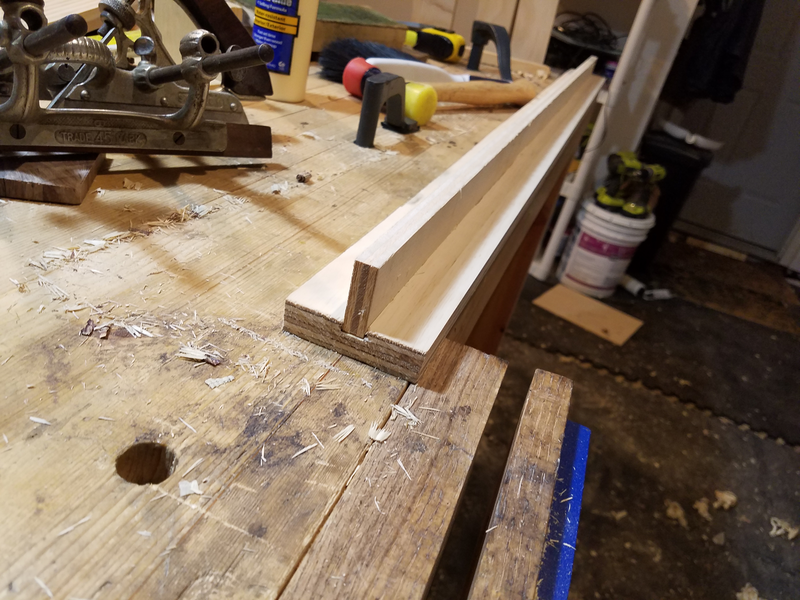
Once I had one long tenon all the way across, I cut pieces out to make 3 haunched tenons. The cutouts flanking the middle section weren't especially clean as they were done with a coping saw (not sure what else I could have used), but it's all hidden inside the joint.
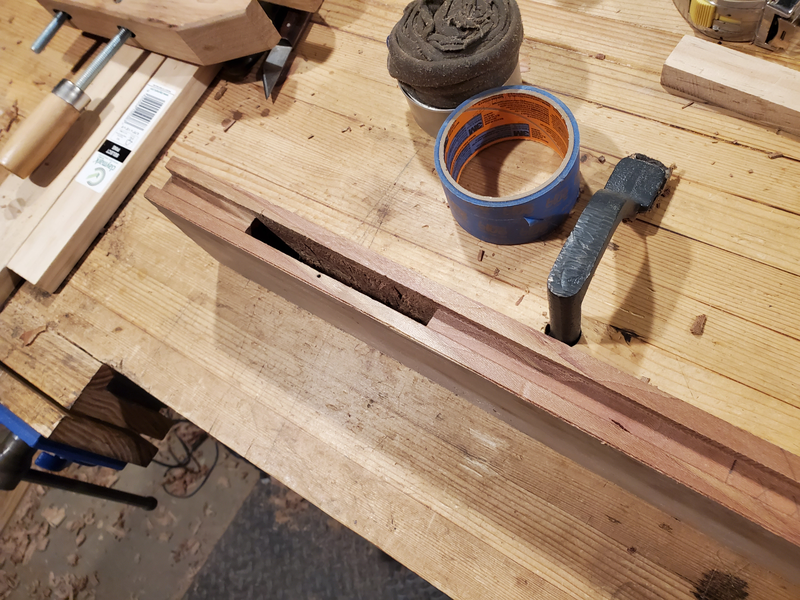
The end (mortised) pieces started with a groove to accommodate the haunched portion of the tenon. No. 45 was the plane of choice here. The proper mortises were chopped with standard bench chisels, but this project had me seriously considering dedicated mortising chisels.
Learning from my prior failure, I was extra careful to ensure the joints fit without force.
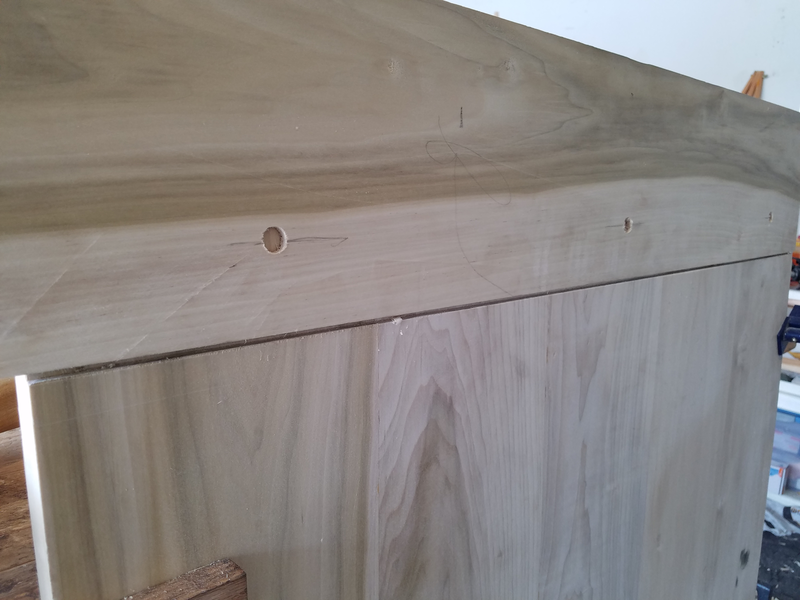
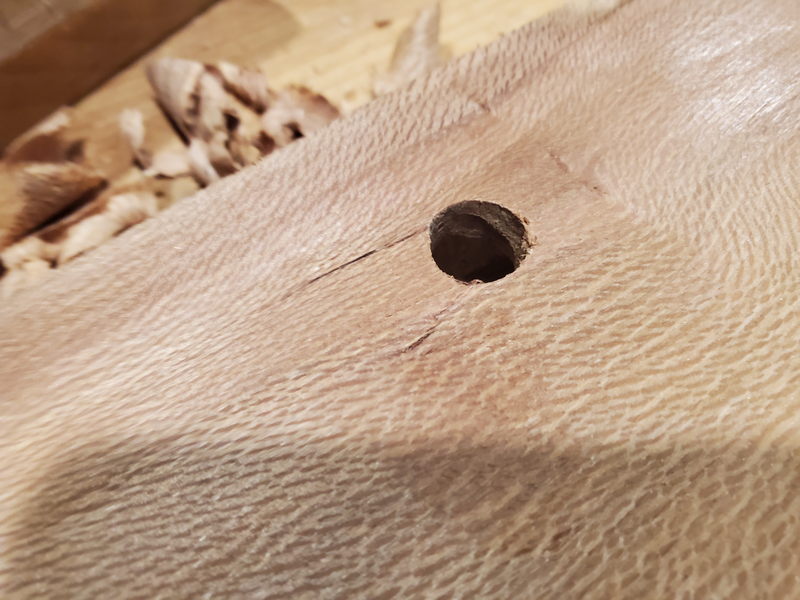
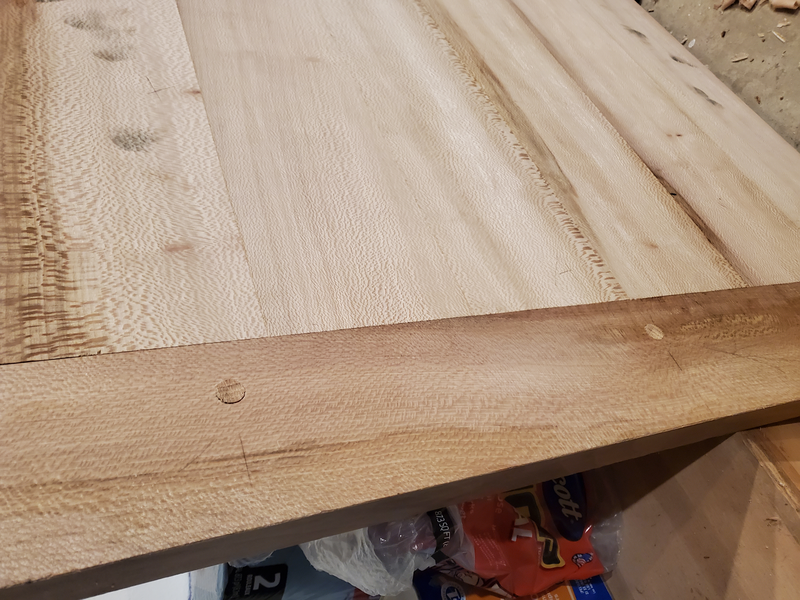
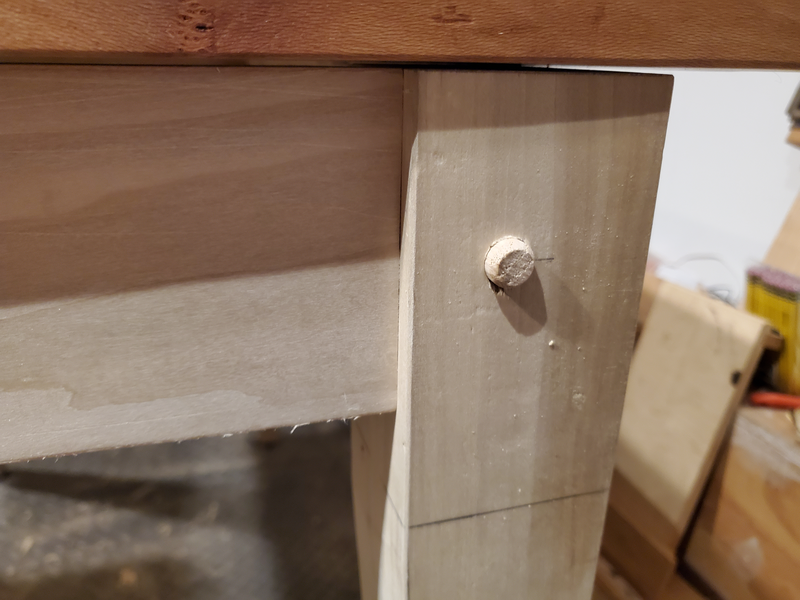
Final assembly I opted to drawbore the tenons and forego any glue. While I was careful to avoid blowout while drilling, I was not so lucky driving through the dowels.
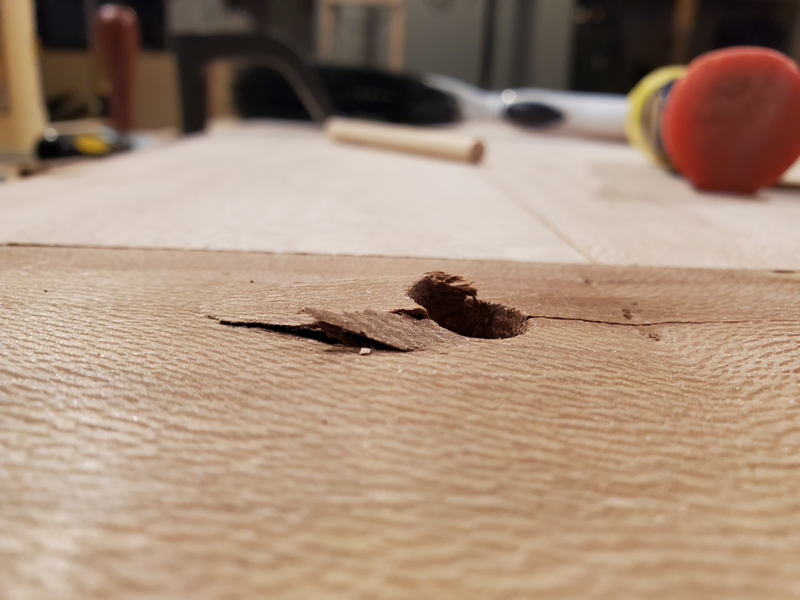
I made a passable repair (it will be on the underside of the table) and for subsequent pinning operations I clamped on a sacrificial pre-bored board to support. With the added precaution I had no further issues.
I deliberately left the ends a bit thicker than the rest of the top so that I could plane them flush once attached. While technically extra work, if I had messed up the joints, I might have had to plane down the entire table to make it even.
The table base was mostly done on stream, and I neglected to get good photos of the process.
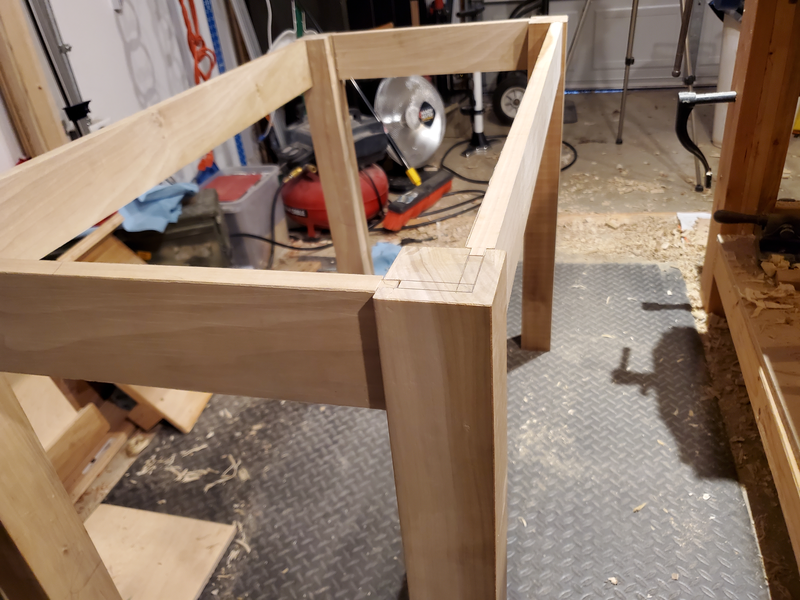
The base is an exceedingly simple design consisting of 4 legs joined to 4 horizontals with mortise and tenon. I opted for a haunched tenon because somebody on the Internet (I think Mitch Peacock) recommended it, and it looked fun and novel.
The mortises are toward the outside of the legs, and actually meet in the middle. The intersection of the mortises actually made chopping them much simpler, as I could work on the bottom surface of one mortise by inserting my chisel into the other.
The only accommodation for the tenons was a 45 degree miter at the tip of each where they would meet (didn't have to be perfect as they are hidden in the joint. I experimented with a couple of methods cutting the tenons, but found I got the best results with a series of relief cuts with a saw, splitting with a chisel, then finishing with a No. 71 router plane. It is a deliberate process for sure, but it eliminates a lot of opportunity for error that you might have sawing or splitting the cheeks all the way.
I wanted the legs to have a slight taper to give us a little more leg room, but kept them square for the sake of the joinery. I had to remove a significant amount of material, so I tried the scrub plane, chisels, and hatchet (much to the amusement of stream chat) to remove the bulk of it, but all of these proved slow and inaccurate. A 5 TPI rip saw proved to be the best tool for the job (also, I don't have a bandsaw). The offcuts, which I wouldn't have had with planing or chopping, proved invaluable for clamping the legs in the vise for subsequent work.

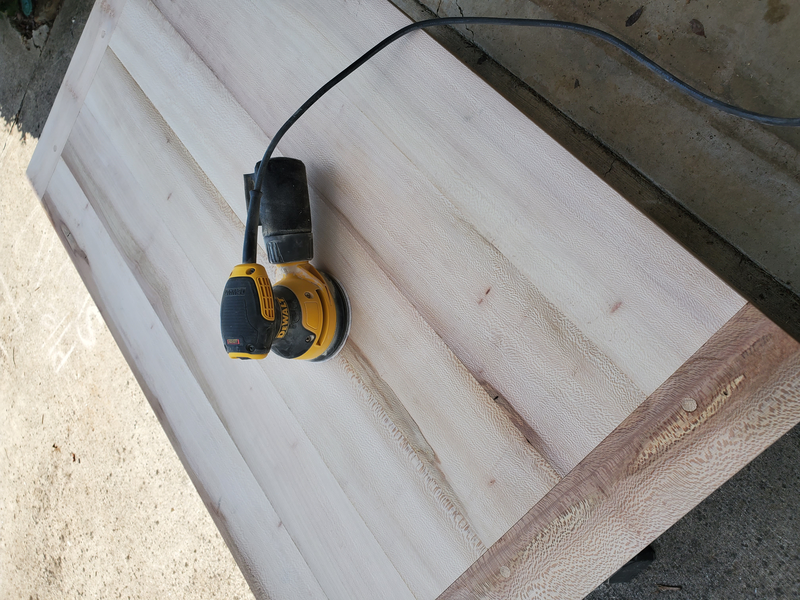
While I really do prefer hand tools, sanding the table top by hand would have be masochistic. I went from 150 to 220 grit with the random orbit sander.
I knew I wanted to color the top slightly, so I tried a number of oils (Watco's tung, teak, and boiled linseed) but settled on BLO. After about 3 or 4 coats, it got to a nice color.
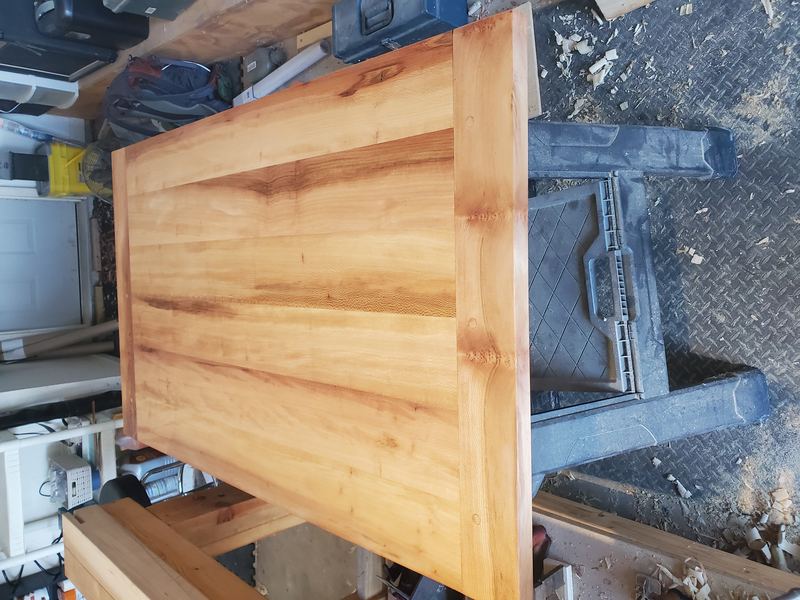
After the oil cured, I added 4 or 5 layers of polyurethane to protect it.
Between coats on the top, I assembled the base by gluing and drawboring the tenons.
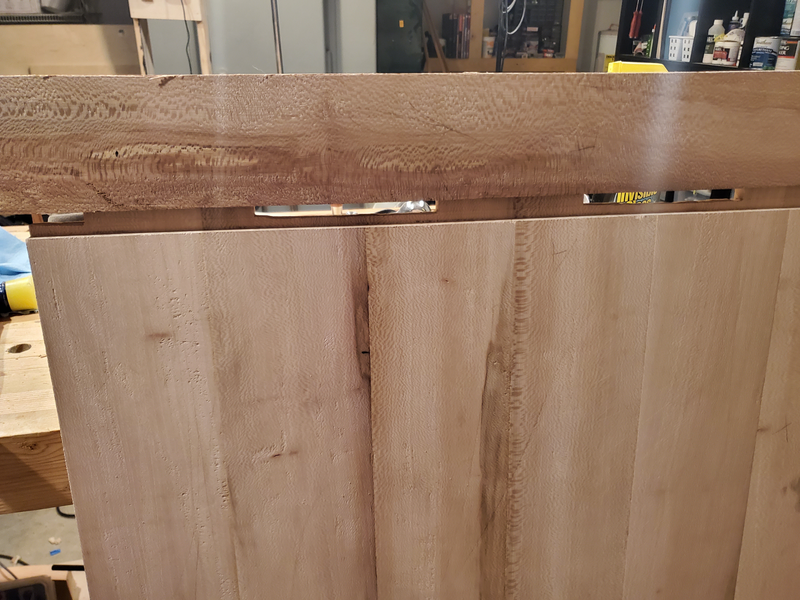
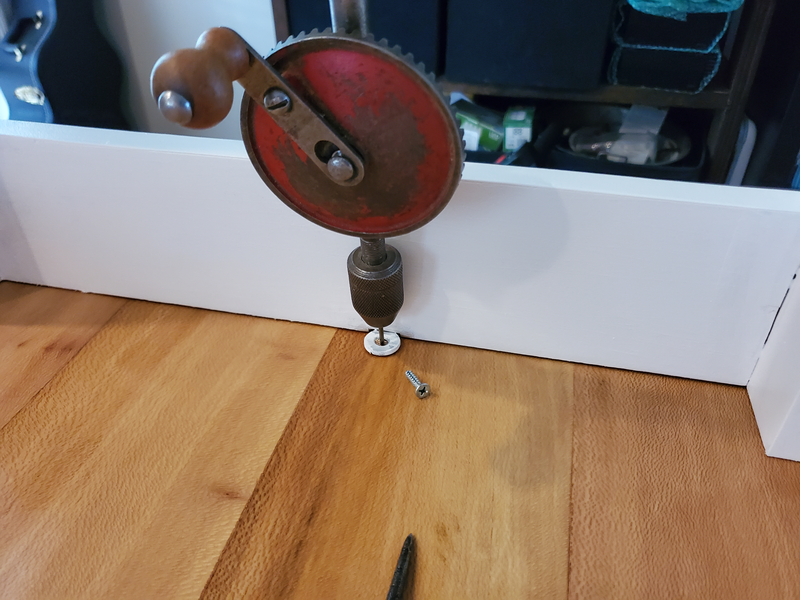
I had originally thought to stain the base and legs, but decided paint was the most appropriate finish. The top is attached to the base with screws and those clever figure 8 washers specifically built for the task. The attachment hardware is supposed to allow for seasonal expansion; it shouldn't be necessary with the quartersawn top, but I also couldn't think of a better way to attach it.
This has been my most ambitious project to date, and I'm about 90% pleased with the final product (when you build it yourself, you know all the mistakes). Between the restart and scheduling around kids/school, this took me about 2 years to complete. Big projects like this tend to take over the shop to the point that it gets in the way of smaller work. I'm not only happy to have the table, but glad to be able to move on to other, smaller, less tedious projects.